

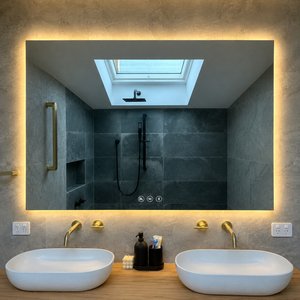
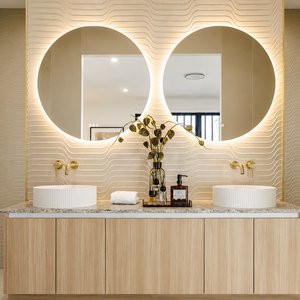
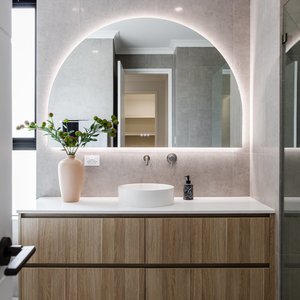
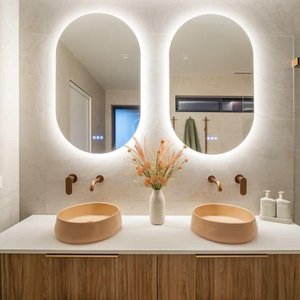


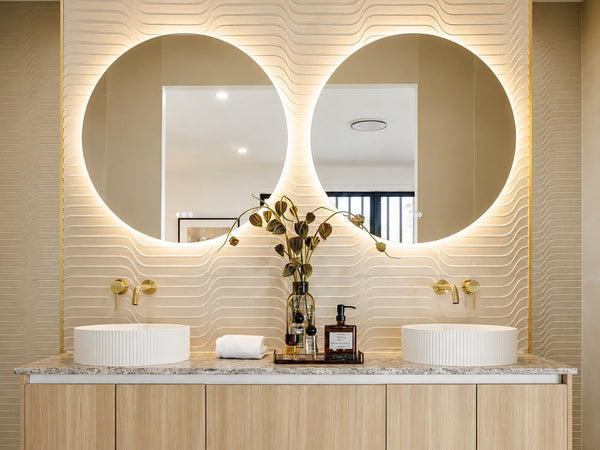
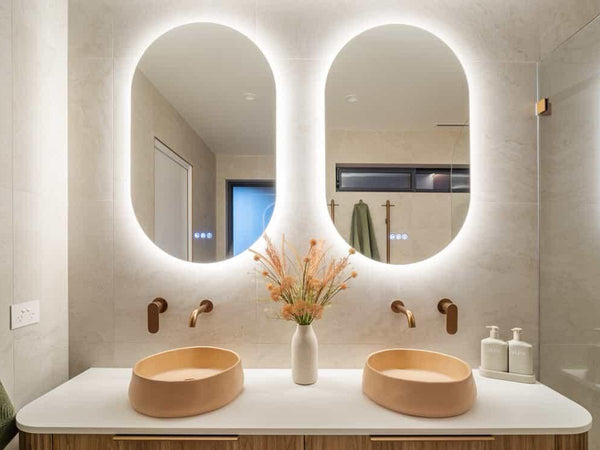
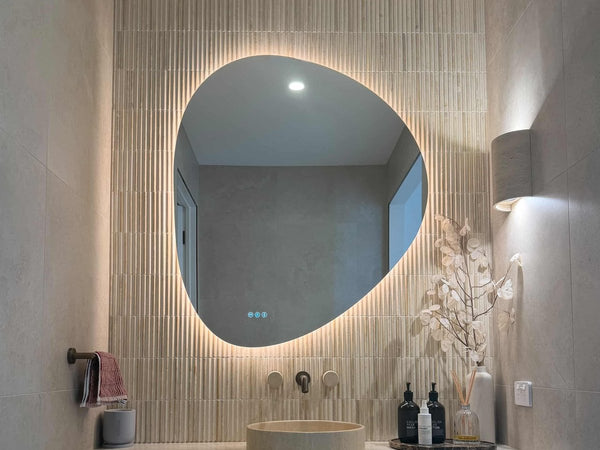
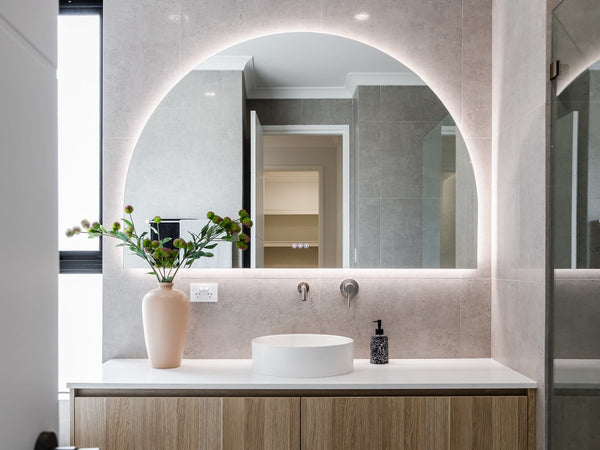
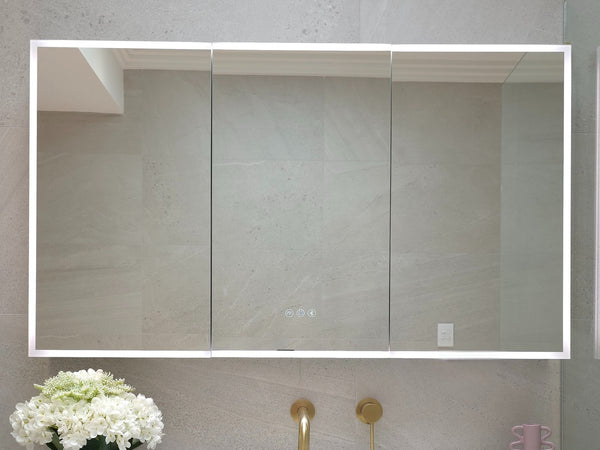

Take the doors off first. Then either sit the cabinet on its bottom bracket and fix the top brackets into studs, noggins or masonry, or slide it into an opening cut to the factory rough-in size and screw it to the framing. A licensed electrician connects it. The round Amalfi Cabinet is surface-mount only.
Every step below comes from the installation manuals we supply with our cabinets. They’re written for our cabinets, so check the manual in your box: models differ in size, depth and fixing. If there’s an old mirror to take off first, How to Install an LED Mirror covers removal and making good.
Updated 20 October 2026 · Written by Ella James, InVogue Mirrors & Bathware
Why Trust InVogue Mirrors & Bathware? InVogue is an Australian retailer trusted in over 20,000 homes, specialising in LED bathroom mirrors and mirror cabinets. The guidance in this article reflects genuine day-to-day usability considerations, not just feature lists.
Electrical work: our mirror cabinets are hardwired and must be installed by a licensed electrician. This guide explains the fixing and what to plan. The electrical connection is not a DIY step.
Before You Start: Four Decisions
- Surface or recessed. All our cabinets can be surface-mounted, and all except the Amalfi can be recessed. Surface-mounted, they stand 117 to 122 mm off the wall. Recessed, the 98 mm body goes into the wall and the cabinet stands about 19 to 20 mm proud. That needs about 98 mm of wall depth: 90 mm studs usually clear it, 70 mm studs usually come up short.
- Height. Leave 100 to 200 mm between the top of the tap (or splashback) and the bottom of the cabinet, never less than 100 mm. As a guide, the centre sits about 1500 to 1650 mm above the floor and 100 to 150 mm below the cornice.
- Width. We generally recommend the largest size that’s no wider than your vanity. When in doubt, size up, if the space allows it; if a side wall, tiles or the door make it tight, go one size down.
- Door swing. Each door opens to 110°. Check it clears shower screens, taps, wall returns and the room door.
Unpack and check the cabinet within 48 hours of delivery, before anything goes on the wall. If anything is damaged, email photos or a short video with your order number and don’t install it.
The Order of Work: Power First
The licensed electrician comes before the cabinet. The supply lead is a fixed 3 × 0.75 mm² tail, 1050 mm long, that leaves the back of the body at the top edge, in the centre. The electrician makes the join in the wall directly behind that point, or anywhere behind the body where a space is made, so it’s hidden. In a renovation, get the supply in place before the wall is sheeted and tiled.
The electrician also confirms the position suits the bathroom zones and checks RCD protection. Our cabinets are IP44 and have a 10 A power point inside, Bluetooth speakers and a motion-sensor interior light, so the one connection runs all of it.
Tools and Parts
The Milan manual lists a drill with a 6 mm bit, a Phillips screwdriver, a spirit level, a tape measure and pencil, masking tape, and a second person. The screws, wall plugs, bottom bracket, top brackets and shelf supports come in the carton; quantities vary by size, so check them against the list on the box. The Amalfi uses different tools, listed in its own section below.
Two people throughout. Wear eye protection when drilling, check for hidden cables and pipes first, and put masking tape over each mark to stop the bit skating.
Step 1: Take the Doors Off
Do this for either method. It makes the cabinet lighter, safer to handle and easier to level.
- Open the door fully.
- Unplug the door’s lead at its connector. Each door carries its own lighting and demister.
- Support the door, press the release under each hinge arm and slide the door off.
- Lay it face up on a padded surface where it can’t be knocked.
How to Surface-Mount a Mirror Cabinet
This is the method for the Milan, Madrid, Santander, Lucca, Positano and Riviera cabinets.
- Mark the line. With the doors off, measure from the mirror’s lower edge to the underside of the body. Draw a level line that far above where the bottom of the mirror will finish.
- Power. With the supply isolated, the electrician brings the supply into a space made in the wall behind where the body will hang.
- Fix the bottom bracket. Hold it level on the line, mark its holes over studs or noggins (or on brickwork), and screw it in. Never into plasterboard alone.
- Rest the cabinet on it. With your helper, lower the cabinet so its foot sits level and fully in the bracket’s groove.
- Fit the top brackets. Slide each one along the groove in the cabinet top until it locks, then mark its holes on the wall.
- Lift the cabinet down, then drill and plug. Drilling with the cabinet in place can damage its top.
- Connect. With the cabinet held close, the electrician joins the tail to the supply.
- Fix the top. Rehang the cabinet on the bottom bracket and screw the top brackets to the wall by hand. Keep the cable clear.
Check it’s level and seated along the full bracket, then refit the doors. The electrician restores power only once the connection is complete, enclosed and checked.


How to Recess a Mirror Cabinet
Only the body goes into the wall. The mirror and doors stay in front of it and cover the edge of the opening.
- Measure the body with the doors off: the body’s width and height, not the mirror’s. Check them against the cut-out table below.
- Mark the opening level, at the factory rough-in size.
- Cut the lining along the marks, after checking the cavity for cables and pipes.
- Frame it between the studs with noggins top and bottom. The electrician brings the supply into the cavity behind where the body will sit.
- Test the fit. Offer the body into the opening with your helper, then take it back out.
- Connect. With the supply isolated, the electrician joins the supply to the tail in an enclosure in the cavity.
- Slide it in, keeping the cable clear so it isn’t squeezed against the framing.
- Fix it by screwing through the cabinet sides into the studs or noggins, or with wall plugs in brickwork. Then refit the doors.
The wall cavity must be framed and clear of services. If the wall is load-bearing or holds drain or vent pipes, get professional advice before you cut.
Recess Cut-Out Sizes
Cut the opening to the factory rough-in size, with nothing added. These are the manufacturer’s sizes, for reference only, so check them against your cabinet before cutting.
Swipe the table sideways to see every column →
| Cabinet | Opening (W × H) | Depth |
|---|---|---|
| Milan or Madrid 900 | 884 × 684 mm | 98 mm |
| Milan or Madrid 1200 | 1184 × 684 mm | 98 mm |
| Milan or Madrid 1500 | 1484 × 684 mm | 98 mm |
| Milan or Madrid 750 | No factory figure yet: measure the body | 98 mm |
| Santander 1200 × 800 | 857.8 × 600 mm | 98 mm |
| Lucca 760 × 890 | 500 × 532 mm | 98 mm |
| Positano 500 × 900 | 500 × 650 mm | 98 mm |
| Riviera 450 × 1000 | 450 × 550 mm | 98 mm |
| Riviera 450 × 1150 | 450 × 700 mm | 98 mm |
| Amalfi Cabinet | Not recessed: surface-mount only | n/a |

The Amalfi Cabinet Is Different
The round Amalfi Cabinet is surface-mount only. It can’t be recessed. It has one centre door, a 103 mm body and stands 122 mm off the wall. It doesn’t use the bottom bracket either. Instead:
- On the back of the cabinet, measure the distance between the two hanging points and from the top of the cabinet down to them.
- Mark the two bracket positions on the wall, exactly level.
- Drill 8 mm holes, push in the wall plugs and screw the two brackets into studs, noggins or masonry, using a Pozidriv No. 2 screwdriver.
- Once the electrician has connected the supply, lift the cabinet onto the brackets with your helper.
- Fit the shelves, then secure the cabinet with the screw through the hole inside it, and finish with the cap.

Shelves, Doors and Final Checks
- Shelves: push a shelf support into the same row of holes on each side and lay the glass shelf on all four.
- Doors: hook each hinge arm onto its plate and press the back until it seats, then plug the door’s lead back in, fully home.
- Adjust: each soft-close hinge adjusts three ways: side to side, height, and in and out. Doors can shift in transit, so expect to fine-tune them.
Can You Hang a Mirror Cabinet on Plasterboard?
Not on plasterboard alone. Every fixing goes into a timber stud or noggin, furring channel, or masonry with suitable plugs. Studs are usually 450 or 600 mm apart, so if a bracket hole lands between them, add a noggin behind the lining. That also rules out adhesive or no-drill hanging for a cabinet this size.
Common Mistakes
- Hanging it before the power is sorted. The join sits behind the body, so the electrician goes first.
- Lifting it with the doors on. Take them off; it’s lighter and easier to level.
- Drilling the top holes with the cabinet in place. Lift it down first.
- Cutting the opening to the mirror size. Cut to the body’s rough-in size; the mirror covers the edge.
- Trying to recess the Amalfi. It’s surface-mount only.
- Forgetting the door swing. 110° can hit a shower screen or tall tap.
Frequently Asked Questions
How high to mount a bathroom cabinet?
Leave 100 to 200 mm between the top of the tap (or splashback) and the bottom of the cabinet, never less than 100 mm. As a guide, the centre sits about 1500 to 1650 mm above the floor. Over a double vanity, hang both cabinets at the same height.
How to attach a bathroom cabinet to the wall?
Ours sit on a bottom bracket screwed into studs, noggins or masonry, with top brackets fixed through the cabinet top. Recessed, they screw through the sides into the framing. The Amalfi hangs on two wall brackets.
How to hang a bathroom cabinet without drilling?
You can’t, for an LED mirror cabinet. It must be fixed into studs, noggins or masonry, never plasterboard alone, and it’s hardwired, so an electrician connects it.
Can any shaving cabinet be recessed?
Not all of them. Of ours, the Milan, Madrid, Lucca, Santander, Positano and Riviera can be surface-mounted or recessed; the Amalfi is surface-mount only. Recessing needs about 98 mm of wall depth.
What size hole do I cut for a recessed mirror cabinet?
The factory rough-in size, with no clearance added: Milan and Madrid 884 × 684 mm (900), 1184 × 684 mm (1200) and 1484 × 684 mm (1500); Santander 857.8 × 600 mm; Lucca 500 × 532 mm; Positano 500 × 650 mm; Riviera 450 × 550 mm (1000 tall) and 450 × 700 mm (1150 tall). Every opening is 98 mm deep. The 750 Milan and Madrid have no factory figure yet, so measure the body. The Amalfi Cabinet is surface-mount only. For reference only: check against your cabinet before cutting.
Do I need an electrician for a mirror cabinet with lights?
Yes. Our mirror cabinets are hardwired and must be installed by an electrician, who also confirms the position suits the bathroom zones.
Designer's Cheat Sheet
Designer's Cheat Sheet
- ✔ Power → licensed electrician first; the join hides behind the body
- ✔ Doors → off before you lift
- ✔ Surface → bottom bracket, then top brackets
- ✔ Recessed → opening = factory rough-in size, check before cutting
- ✔ Amalfi → surface-mount only, two brackets
- ✔ Height → 100–200 mm above the tap
- ✔ Fixings → studs, noggins or masonry, never plasterboard alone
Where To Next?
- Taking the old mirror off: How to Install an LED Mirror
- Recess or not: Recessed vs Surface-Mounted Mirror Cabinets
- Sizes and depths: Mirror Cabinet Buying Guide
- The wiring: Do LED Mirrors Need an Electrician?
- Keeping it clean: How to Clean an LED Bathroom Mirror
- Shop: Mirror Cabinets · warranty: mirror and cabinet warranty
Need help? Ask us with a photo.
Send a photo of your mirror, cabinet or plans and we’ll help, or call 1300 221 495.

