


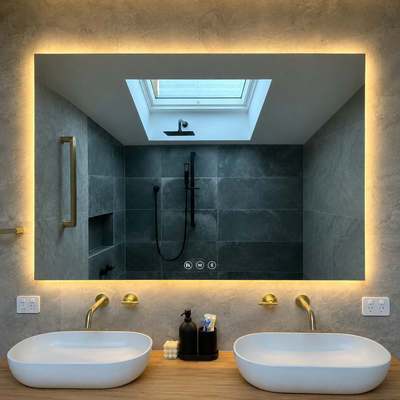
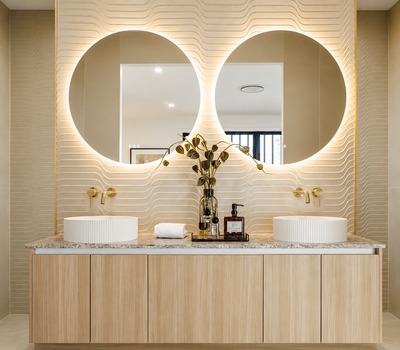
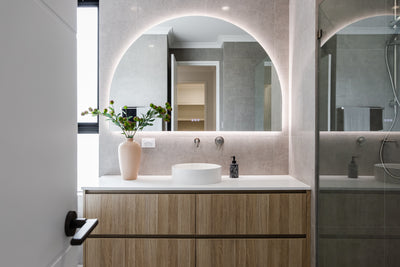
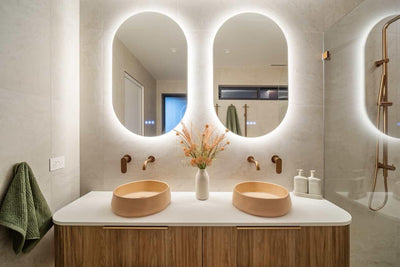
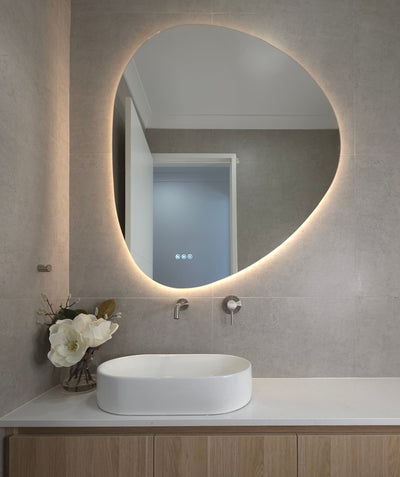
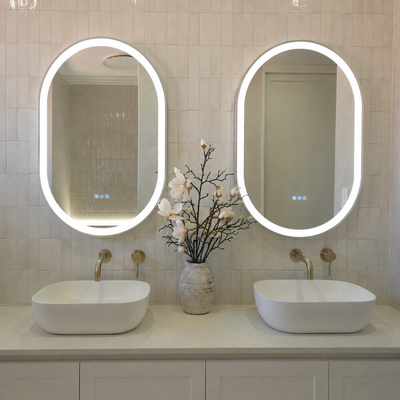
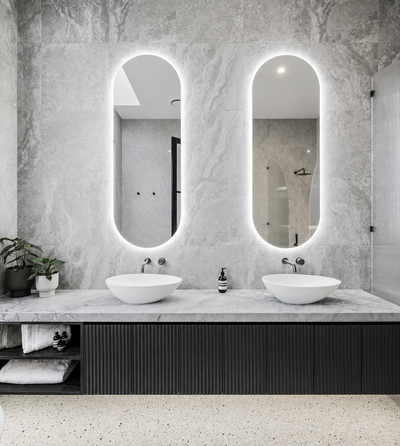



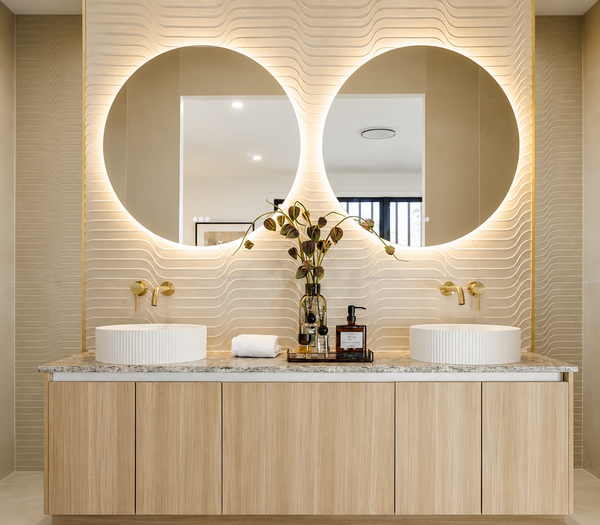
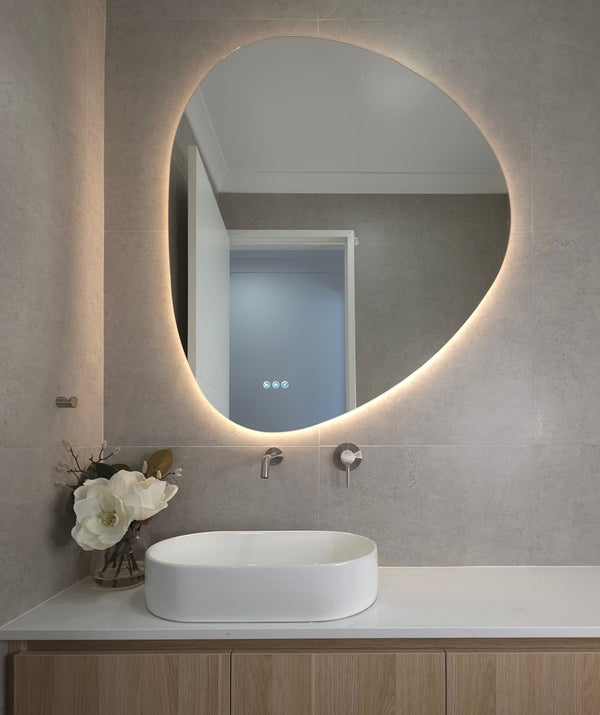
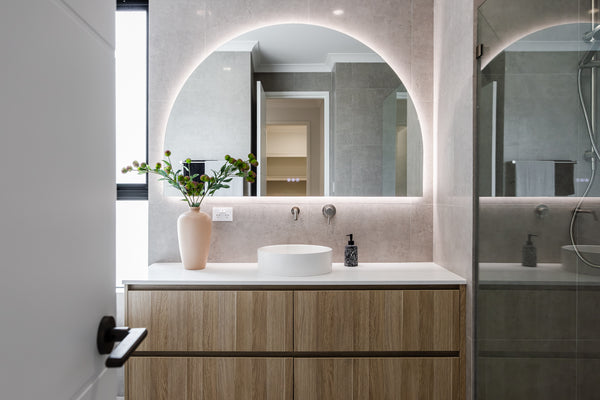
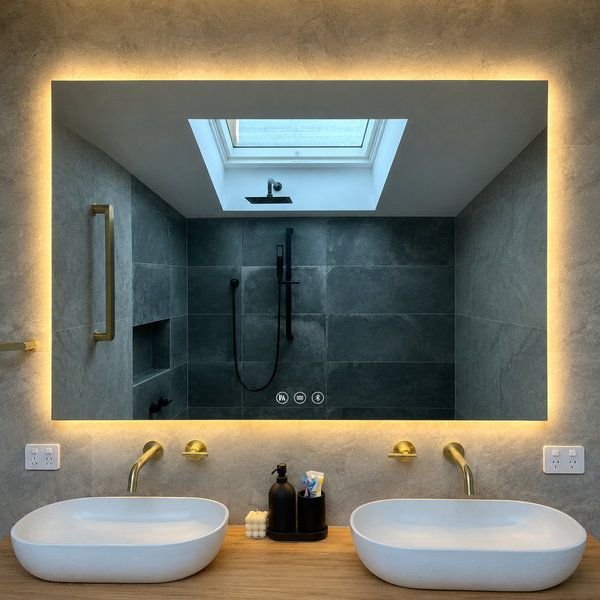
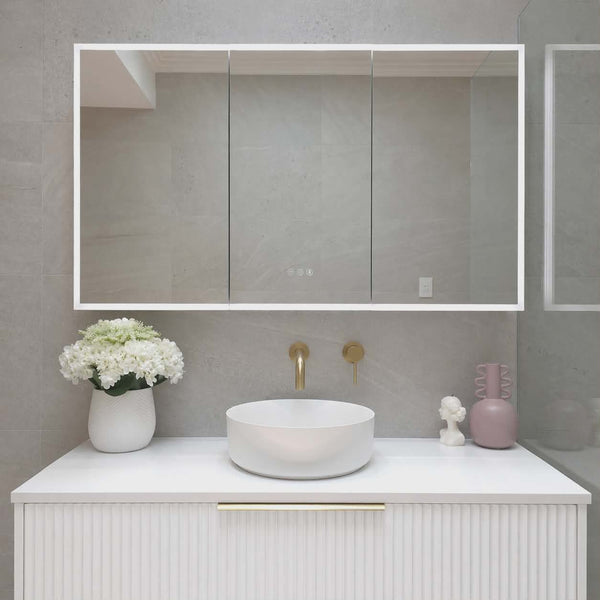

Most new homes come with a frameless builder's mirror stuck to the wall above the vanity. It's usually the first thing people want gone. It's also where the job goes wrong, because the old glass has to come off before anything else can happen, and the new LED mirror needs power behind it.
This guide follows the swap in the order it really happens: getting a glued or clipped mirror off without cracking the tiles, making good, where the electrician fits in, and what the new mirror or cabinet must fix into. Bracket and hanging-bar details come from our own installation guides.
Updated 13 October 2026. Product details come from our installation guides and product specifications.
Why Trust InVogue Mirrors & Bathware? InVogue is an Australian retailer trusted in over 20,000 homes, specialising in LED bathroom mirrors and mirror cabinets. The recommendations in this guide come from bathroom design principles — proportion, balance and light — rather than passing trends.
Electrical work: our LED mirrors and mirror cabinets are hardwired and must be installed by a licensed electrician. This guide explains what to plan and ask for. It is general information, not installation instructions.
Quick Answer
To replace a builder's mirror with an LED mirror: take the old glass off, have a licensed electrician place the wiring point behind where the new mirror will hang, fix the brackets into studs, noggins or masonry, then the electrician connects it as you hang it.
- Clipped mirrors lift out once the top clips are undone. Glued ones come off by sawing through the glue pads with wire, never by levering.
- Tape the glass and work with two people, gloves and eye protection.
- Brackets go into a stud, noggin or masonry. Never plasterboard alone.
- Our mirrors hang on 1 to 3 bars depending on size, with one wall bracket under each bar.
- Go as wide as the vanity allows, never wider, and check the new mirror covers any patch the old one hid.
First, Work Out What's Holding the Old Mirror
Look at the edges first. Clips, or a channel along the bottom, mean it lifts out easily. Glass tight to the wall with nothing visible means it's glued.
Then knock on the wall. Plasterboard over studs sounds hollow between them; brick or block sounds solid. Plenty of bathrooms have tiles over plasterboard, which feels hard but is still hollow behind. That decides how the old mirror comes off and what the new brackets can fix into.
| Wall type | Removing the old mirror | New brackets fix into | Get help when |
|---|---|---|---|
| Painted plasterboard | Glue often pulls the paper face off | Studs or noggins behind the board | No stud where a bracket lands |
| Tiles over plasterboard | Glue holds the tile glaze; levering cracks tiles | Studs or noggins, drilled through the tile | Tiles are cracked or drummy |
| Brick, block or concrete | Glue holds hard: wire and patience | Wall plugs into solid masonry | Render is crumbling |
| Steel stud | As for plasterboard | The studs or noggins, with fixings suited to steel | You're unsure what the frame is |
Fixing rules from our LED mirror installation guides. Your builder confirms what is behind your lining.
How to Remove a Glued or Clipped Builder's Mirror Safely
Slow and supported is the safe way. A large sheet of glass letting go suddenly is the real hazard, more than any tool. Wear cut-resistant gloves, safety glasses, long sleeves and closed shoes, and pad the vanity top with a folded blanket or the carton from your new mirror. Then run strong tape across the face of the glass in a criss-cross. If it cracks, the tape holds the pieces together.
Clipped mirrors
- Your helper holds the glass flat against the wall.
- Undo the top clips (or the side clips) and move them clear.
- Tilt the top towards you slightly and lift the mirror up out of the bottom clips together.
- Carry it on its edge, never flat.
Glued mirrors
- Start a gap at a top corner with a thin plastic wedge, not a metal blade.
- Feed strong wire or braided fishing line behind the corner and, gloves on, saw down and across through the glue pads.
- Add wedges as the gap opens, so the weight never hangs on the last few pads.
- When the last pad lets go, lower the mirror onto the padded vanity together.

Some mirrors have so much adhesive there's no gap to start from, or the wire simply won't move. That's where you stop. Levering with a pry bar is how mirrors crack across the middle and splashback tiles break, and a glazier costs less than retiling.
Designer Insight: in one renovation thread we followed, an 1100 mm glued mirror had only about 140 mm of tiled wall either side, and the owner wanted a cabinet in its place. Nothing could be decided until the glass was off and the wall checked. Take the old mirror down before you settle on the new size.
Patching and Making Good (Including Tiles Cut to the Old Mirror)
Glue blobs on tiles usually scrape off with a plastic scraper. On plasterboard the paper face often comes away with the glue and needs patching and sealing before paint.
The bigger surprise is a wall that was only tiled up to the old mirror, with bare board behind the glass. The new mirror has to cover that, or the patch gets tiled or painted. This is where people get caught: the right LED mirror goes as wide as the vanity allows but never wider, and our sizes come in steps, so it can still be narrower than a builder's mirror that ran the full width or past it. Measure the patch before you choose, with our mirror size guide or the "Check it fits your vanity" tool on any mirror product page.

Leave the final coat of paint until after the electrician's first visit. Their opening for the cable will sit behind the mirror, but it still needs patching.
The Order of Work: Electrician First, Then the Brackets
The wiring point sits behind the new mirror, so the electrician needs to know exactly where the mirror will hang before anything is fixed to the wall. Our installation guides use this order for mirrors and cabinets alike.
- Mark the new outline. Our mirror height guide puts the centre about 1500 to 1650 mm above the floor, and the bottom edge 100 to 200 mm above the top of the tap or splashback, never less than 100 mm.
- The licensed electrician places the wiring point near the centre of the outline and confirms the bathroom zone and RCD protection.
- Patch and paint. Add a noggin now if a bracket has nothing to fix into.
- Fix the wall brackets, one under each hanging bar.
- The licensed electrician connects the cable with the supply isolated while a helper holds the mirror. Hang it together, restore power and test.

In a full renovation the wiring point belongs at rough-in, before the wall is lined or tiled, so book the electrician early.
Where the New Mirror's Fixings Land: Studs, Noggins and Solid Walls
Every wall bracket screws into a timber stud or noggin, or plugs into brick or masonry. Plasterboard can't hold an LED mirror or cabinet on its own, and tiles don't change that, because a tile is only as strong as the board behind it.
The catch is that studs are rarely where the brackets want to be. They're typically 450 or 600 mm apart, while the bars are set by the mirror's size. Find the studs with a detector, mark them, and lay your bracket positions over them. Where a bracket falls between studs, a horizontal noggin gives it something to bite. On a finished wall that means a small opening, best made while the electrician is already working behind the mirror's outline.

On tiles, drill through with a tile bit. Our guides use a 5.5 mm tile or masonry bit for the wall plugs supplied, and every fixing comes in the carton. Check for hidden cables and pipes first, especially near the old light switch and below a wall mixer.
Hanging Bars by Model and Size
Our LED mirrors hang on horizontal bars on the back, and each bar hooks down into its own wall bracket. Two bars means two brackets and two solid fixing points. Before you drill, lay the mirror face-down on its packaging and measure the bars on your own mirror, from the top edge and the centre line.
| Model | Sizes (mm) | Hanging bars | Bar position | Orientation |
|---|---|---|---|---|
| Amalfi, Amalfi Ambient, Capri (round) | Ø600, Ø700, Ø800 | 1 | Upper back | As drawn |
| Amalfi (round) | Ø1000, Ø1200, Ø1500 | 2 | Upper back | As drawn |
| Santander (arch) | 1200 × 800, 1500 × 1000 | 2 | Upper back | As drawn |
| Lucca (pebble) | 760 × 890, 940 × 1090 | 2 | Upper back | As drawn |
| Venice (rectangle) | 900 × 700 | 2 | Upper back | As drawn |
| Venice (rectangle) | 1200 × 800, 1500 × 1000, 1800 × 1000 | 3 | Upper back | As drawn |
| Florence (rounded rectangle) | 900 × 700, 1200 × 800, 1500 × 1000 | 2 | Upper back | As drawn |
| Florence (rounded rectangle) | 1800 × 1000 | 3 | Upper back | As drawn |
| Riviera, Riviera Ambient, Valencia, Positano, Positano Ambient, Portofino, Onde | All sizes | 1 | Upper back | As drawn |
| Lune (half-moon) | 667 × 1000 | 2 | Top and bottom | Straight edge left or right |
Source: our LED mirror installation guides, from the factory drawings.

Hang it with two people, lowering every bar onto its bracket until it sits fully home. If it rocks, lift it off together and look for a missed bracket or a trapped cable.

Each model has its own guide on its product page, for example the Santander installation guide (PDF) and the Venice guide (PDF).
The Power: Who Does It and When
A licensed electrician does all of it. A builder's mirror has no power, so the swap needs a new wiring point behind the glass. Our mirrors are hardwired, 220 to 240 V, with no plug, and each has a pre-attached 3-core 0.75 mm² cable that exits the back near the centre: 1 m long, or 1.5 m on the Venice 1800 × 1000.
The electrician also checks the position against the bathroom zones of AS/NZS 3000 and the RCD protection, and advises on switching. Our warranty asks for licensed installation, following our installation guide.
For cable positions, plug-in versus hardwired and the rules where you live, read Do LED mirrors need an electrician?
Swapping to a Mirror Cabinet Instead
A cabinet is the most common upgrade from a builder's mirror. The order of work is the same; three things change.
- Depth. Surface-mounted, our cabinets stand 117 to 122 mm off the wall depending on the model, and Milan and Madrid doors open to 110°. Check they clear a tall tap, a shower screen and the room door.
- Cable. On our bracket-hung cabinets a fixed 1050 mm lead leaves the back of the body at the top edge, centred, and the join is made in the wall behind the body.
- Recessing. It's possible, with your builder framing the opening to the cabinet's specified dimensions. Check the guide supplied with your cabinet before anything is cut.

The Milan and Madrid come in 750 to 1500 mm widths, and the Milan manual (PDF) shows the cable exit and join zone. For depth, studs and recessing in detail, see Recessed vs Surface-Mounted Mirror Cabinets.
Common Mistakes
- Levering the old mirror off. A pry bar against glass cracks mirrors and splashback tiles.
- Working alone. Our guides say two people, for removal and for hanging.
- Fixing brackets before the electrician's first visit. The wiring point has to sit inside the outline, so brackets come second.
- Trusting plasterboard anchors. Find the studs or add a noggin.
- Choosing the size before the old mirror is off. A narrower mirror can leave bare wall showing at the sides.
- Drilling blind. Check for cables and pipes before every hole.
Frequently Asked Questions
How do you remove a bathroom mirror that's glued to the wall?
Tape the face of the glass, have a helper hold it, then work strong wire or braided line behind a top corner and saw down through the glue pads while plastic wedges keep the gap open. Never lever against the glass. If the wire won't pass or the glass starts to flex, stop and call a glazier.
Can I hang an LED mirror on plasterboard?
Not on plasterboard alone. Every bracket must screw into a timber stud or noggin, or be plugged into brick or masonry. If no stud falls where a bracket goes, a noggin goes in behind the lining. On a finished wall that means a small opening, patched and hidden behind the mirror.
Can I replace a builder's mirror with a mirror cabinet?
Yes. A surface-mounted cabinet fixes into the same structure as a mirror and stands 117 to 122 mm off the wall, depending on the model, so check the doors clear your tap and any shower screen. Recessing is possible too, with your builder framing the opening to the cabinet's specified dimensions.
Who connects the power to a new LED mirror?
A licensed electrician. Our LED mirrors and cabinets are hardwired, 220 to 240 V, with no plug. The electrician places the wiring point behind where the mirror will hang before you fix the brackets, then connects the cable while a helper holds the mirror. It is not a DIY step.
Do I need to patch the wall before the new mirror goes up?
Only where it will show. Make good any torn plasterboard paper or glue scars, and check the new mirror covers whatever the old one hid. An LED mirror goes up to the vanity width but never wider, and the nearest size can still be narrower than a full-width builder's mirror, so measure the bare patch first.
Can I hang a landscape LED mirror portrait?
Hang it the way its installation guide shows. The hanging bars, cable exit and touch buttons are placed for that orientation, so turning a mirror can leave the buttons somewhere awkward. The Lune is the exception and hangs with its straight edge on either side. Ask us before ordering if you need another way round.
Designer's Cheat Sheet
Designer's Cheat Sheet
- ✔ Clips visible? → Undo the top clips, lift out with a helper
- ✔ Glued? → Tape the glass, wire through the glue pads, plastic wedges
- ✔ Wire won't move? → Stop and call a glazier
- ✔ Power? → Licensed electrician, before the brackets go up
- ✔ Fixings? → Studs, noggins or masonry, never plasterboard alone
- ✔ Size? → Up to the full vanity width, never wider, and cover the old patch
Conclusion
The swap is a day's work spread over two electrician visits. What makes it go well is sequence: glass off with care, outline marked, the licensed electrician in before the brackets, every fixing into something solid. Still choosing? Our bathroom mirror buying guide covers shape, size and lighting.
Where To Next?
- Related guides: Do LED Mirrors Need an Electrician?, How High Should You Hang a Bathroom Mirror?, How to Choose the Right Mirror Size for Your Vanity and Recessed vs Surface-Mounted Mirror Cabinets
- No storage needed: the full Smart Mirrors range
- Need storage: the full Mirror Cabinets range
Need help? Ask us with a photo.
Send a photo of your wall, vanity or plans and we will tell you what fits, or call 1300 221 495.

