


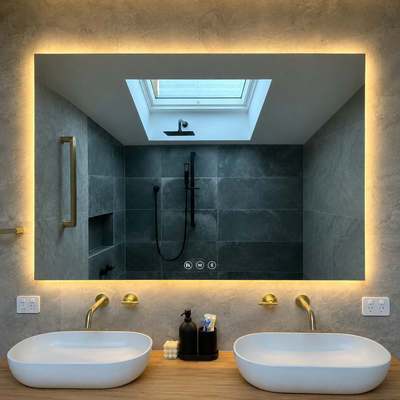
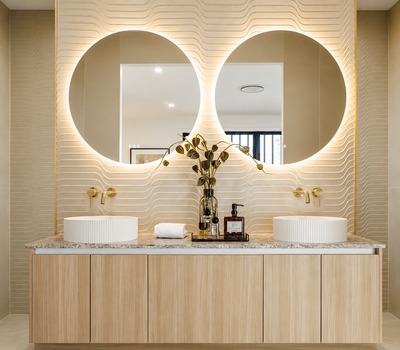
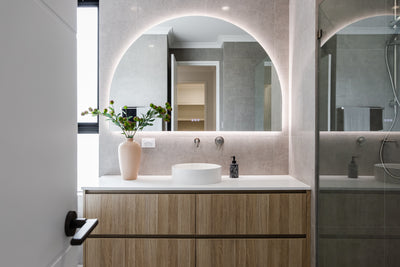
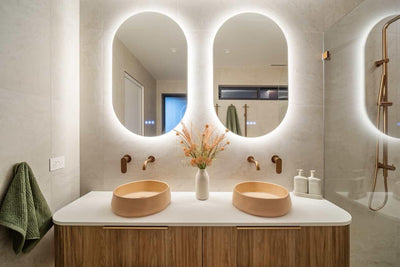


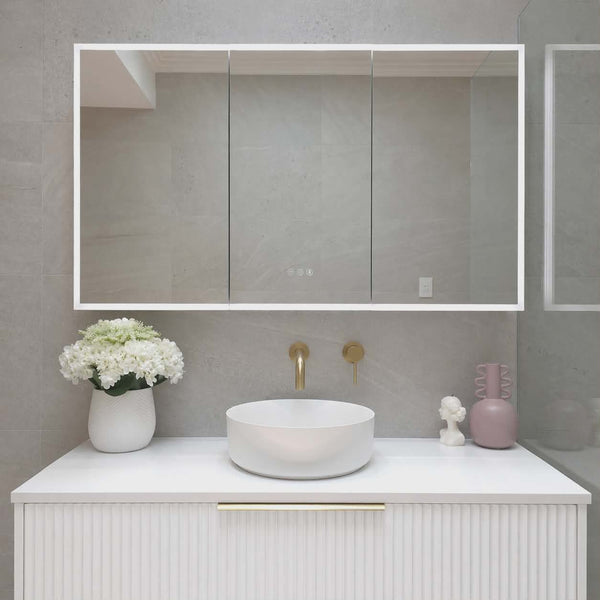

Most bathroom measurement guides give you a list of heights and leave out the part that causes the trouble: where each one is measured from. A shower mixer "at 1,000 mm" means something different if your plumber measures from the bare slab and your tiler then adds a screed, and a mirror "200 mm above the tap" goes wrong fast if somebody measures from the benchtop instead of the top of the spout.
This guide puts every fixture on the basin wall, shower wall and accessory wall into one set of drawings, and every number comes with its starting point: the finished floor, the top of the benchtop, the basin rim, the top of the tap or the finished wall surface. It finishes with a rough-in sheet you can hand to your licensed plumber and licensed electrician before the walls are sheeted. The order those trades come in, and what you need to have chosen before each one arrives, is in our companion guide, Bathroom Renovation Order of Trades.
Updated 13 October 2026. Product dimensions come from our factory drawings and product specifications. Heights labelled "typical" are common practice, not a code requirement, so check them against your plans.
Why Trust InVogue Mirrors & Bathware? InVogue is an Australian retailer trusted in over 20,000 homes, specialising in LED bathroom mirrors and mirror cabinets. The recommendations in this guide come from bathroom design principles — proportion, balance and light — rather than passing trends.
Quick Answer
Measure every bathroom height from a stated datum, usually the finished floor level (FFL), meaning the floor with its screed and tiles in place. The six numbers people ask for most:
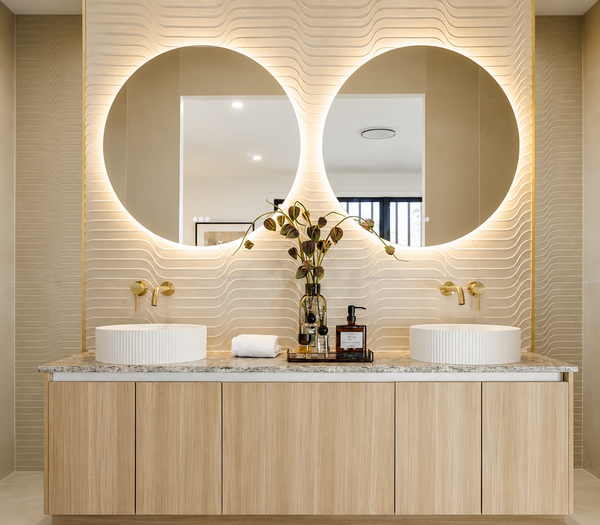
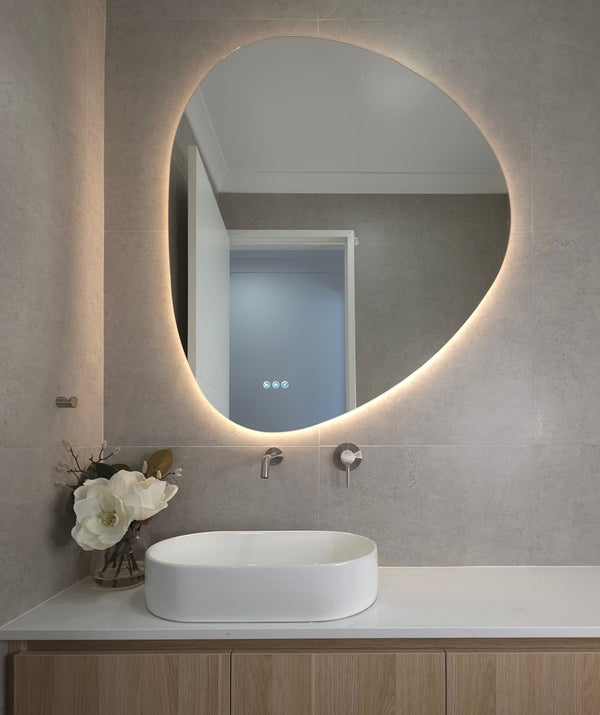
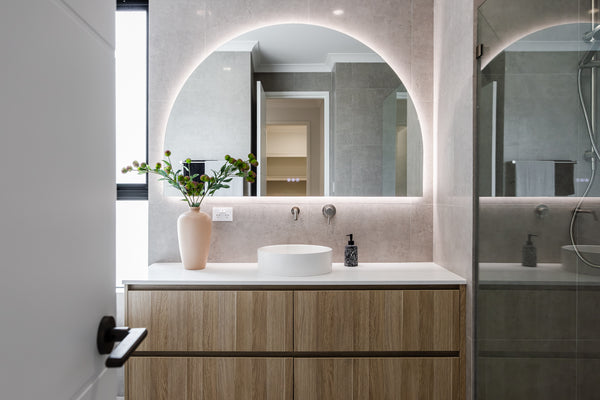
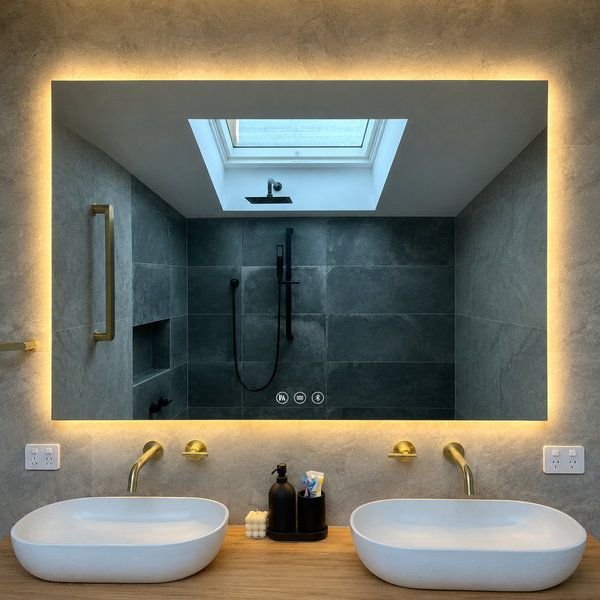
- Mirror or mirror cabinet: bottom edge 100–200 mm above the top of the tap or splashback (never less than 100 mm), centre about 1500–1650 mm above FFL.
- Basin mixer on a raised basin: at least 50 mm between the basin rim and the underside of the spout. That one is our fit rule, measured from the rim, not the benchtop.
- Wall mixer and spout: the valve has to finish inside its depth window, measured to the finished tile face: 45–70 mm on the Milano, 55–85 mm on the Cannes diverter.
- Shower mixer: typically 900–1,100 mm from FFL to the centre of the lever (the AS 1428.1 accessible range, commonly used as a guide).
- Shower head: typically 1,900–2,100 mm from FFL to the spray face, not to the wall outlet.
- Towel rail and toilet roll holder: typically 900–1,200 mm and 600–700 mm from FFL to the centre of the fitting.
Bathroom Heights at a Glance
Here is every common fixture in one table. The column that matters most is the third one. If two trades are working from different datums, this is where the 20 or 30 mm errors come from.
Swipe the table sideways to see every column.
| Fixture | Typical position | Measured from (datum) | Source type | NZ note |
|---|---|---|---|---|
| Benchtop (top of vanity) | About 850–900 mm | FFL to top of benchtop | Typical | Same |
| Basin mixer spout | At least 50 mm clear above the rim | Basin rim to underside of spout | Our fit rule | Same |
| Wall spout outlet | Set from the basin, not the floor | Basin rim to spout outlet | Planning rule | Same |
| Mirror or cabinet, bottom edge | 100–200 mm above tap or splashback (min. 100 mm) | Top of tap or splashback, whichever is higher | Our fit rule | Same |
| Mirror or cabinet, centre | About 1500–1650 mm | FFL to centre of mirror | Our guidance | Same |
| Mirror or cabinet, top edge | 100–150 mm below the cornice | Cornice or ceiling down | Our guidance | Same |
| Wall mixer valve depth | Milano 45–70 mm, Cannes 55–85 mm | Finished wall (tile face) | Our product | Same |
| Shower mixer | 900–1,100 mm | FFL to centre of lever | AS 1428.1 accessible range, used as typical | NZS 4121 applies in NZ |
| Shower head | 1,900–2,100 mm | FFL to spray face | Typical | Same |
| Towel rail | 900–1,200 mm | FFL to rail centre | Typical | Same |
| Robe hook | 1,500–1,700 mm | FFL to hook | Typical | NZS 4121 accessible: 1,200–1,350 mm |
| Toilet roll holder | 600–700 mm | FFL to centre of roll | Typical; AS 1428.1 sets 700 mm max. for accessible toilets | Same |
Why the Datum Matters More Than the Number
Get the starting point right and most heights look after themselves. There are only five datums in a bathroom, and each one belongs to a different trade.
- Finished floor level (FFL): the top of the floor tile, after any screed, tile bed and tile. Use it for shower fittings, accessories and the mirror centre. Before tiling, ask your builder or tiler what the finished floor will add above the slab or sheet floor, and add that to every mark.
- Top of the benchtop: the datum for anything that sits on the vanity.
- The basin rim: the datum for spout clearance. On a raised (vessel) basin the rim can sit well above the benchtop, so the benchtop is the wrong starting point.
- Top of the tap or splashback: the datum for the bottom of a mirror or cabinet. Whichever is higher wins.
- The finished wall: the face of the tile, not the stud or the sheet. Wall mixer valve depth is measured to this surface.
What goes wrong in practice is predictable. A floor gets raised for a new shower base and nobody moves the shower outlet, so the head ends up uncomfortably low for the tallest person in the house. Or the plumber roughs in a wall mixer to the sheet and the tiler adds a thicker tile and bed than planned, so there isn't enough thread left for the cover plate. Both come up again and again on renovation forums, and both are datum problems rather than bad workmanship.
One more floor detail. Under the National Construction Code, a shower floor with a floor waste falls to the waste at between 1:80 and 1:50, so the floor at the waste is lower than the floor at the wall. Measure shower heights from the finished floor directly below the fitting, not from the waste.
The Basin Wall: Benchtop, Tap, Mirror or Cabinet
Work up the wall in order. The benchtop sets the basin, the basin sets the tap, and the top of the tap sets the mirror. Change one and everything above it moves.

Benchtop height
A finished benchtop typically sits about 850–900 mm above FFL. Wall-hung vanities can be set at any height, so this is the first number to agree with whoever is fixing the vanity, because the tap and mirror heights both hang off it.
Basin mixer: clearance from the rim
For a mixer on the benchtop, the number that decides whether it works is the clearance under the spout, measured from the basin rim. Our rule is at least 50 mm between the rim and the underside of the spout, and our which tap fits my basin tool runs the check for you. The Vienna Short Basin Mixer has 75 mm under the spout, so it suits under-mount and low-profile basins. The Vienna Tall Basin Mixer has 200 mm, which is what most raised basins need. Both need a Ø35–38 mm hole in the benchtop.
Wall spout: set it from the basin
No code sets a height for a wall spout. Work it out from the basin you have actually bought: the outlet needs to clear the rim and land the water near the waste. On the Milano Wall Spout Plus Wall Mixer, the spout projects 192 mm from the wall and its outlet sits 60 mm below the centre of its wall plate, with the spout and mixer at 120 mm centres. So once you know where the outlet should be, add 60 mm to get the centre line your plumber roughs in. This is why the basin should be on site, or at least its drawing in hand, before the plumbing rough-in.
Mirror or cabinet: measured from the top of the tap
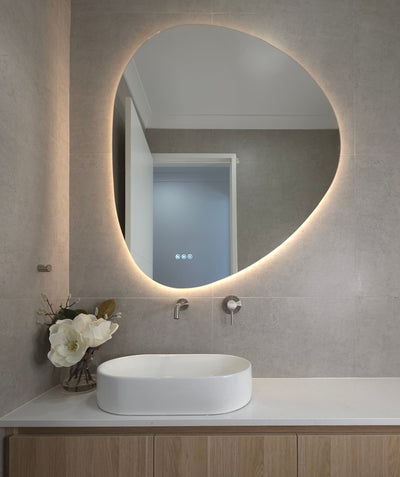
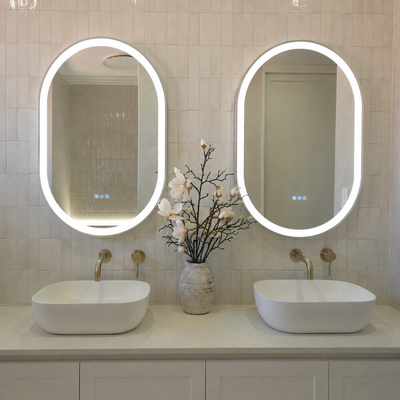
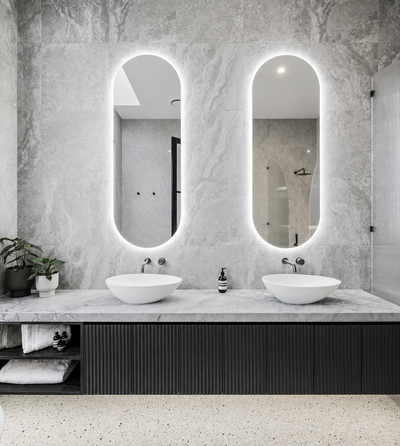
The bottom of the mirror or cabinet sits 100–200 mm above the top of the tap or splashback, whichever is higher, and never less than 100 mm. The centre ends up about 1500–1650 mm above FFL. Two worked examples from our mirror height guide: on an 850 mm vanity with a 175 mm Vienna Short, the bottom edge lands at about 1125–1225 mm; with a 305 mm Vienna Tall it rises to about 1255–1355 mm. Keep the top edge 100–150 mm below the cornice.
For width, go as wide as your vanity allows, up to its full width but never wider. If you'd like a little wall showing either side, choose one size down. The "Check it fits your vanity" tool on each mirror and cabinet product page does the arithmetic. Mirror cabinets add one more check: ours are about 117 mm deep, with doors that open to 110° on the Milan and Madrid, so make sure a tall spout or a side wall doesn't get in the way. Our recessed vs surface-mounted cabinet guide covers depth and tap clearance in detail.
Designer Insight: measure the tap you have chosen, not a generic one. If your mixer is a tall Vienna, the mirror gap is measured from the top of its spout, which is 305 mm above the benchtop. That one decision moves the mirror up by 130 mm compared with the short version.
Our product numbers for this wall, all from factory drawings and our product specifications:
Swipe the table sideways to see every column.
| Model | Key dimension | Value | Measured from |
|---|---|---|---|
| Vienna Short Basin Mixer | Overall height / spout reach / under spout | 175 / 140 / 75 mm | Top of benchtop |
| Vienna Tall Basin Mixer | Overall height / spout reach / under spout | 305 / 180 / 200 mm | Top of benchtop |
| Vienna Short and Tall | Benchtop hole | Ø35–38 mm | n/a |
| Milano Wall Spout Plus Wall Mixer | Spout projection | 192 mm | Finished wall |
| Milano Wall Spout Plus Wall Mixer | Spout outlet below plate centre | 60 mm | Centre of spout plate |
| Milano Wall Spout Plus Wall Mixer | Spout to mixer centres | 120 mm | Plate centre to plate centre |
| Mirror cabinets (Milan, Madrid and others) | Depth | About 117 mm (check each model) | Wall surface |

Wall Mixer Rough-In: Depth to the Finished Wall
A wall mixer has two positions to get right: its height and its depth. The depth is the one that catches people out, because it is set before the wall is sheeted but judged after it is tiled.

Our Milano valves work when the finished wall lands within 45–70 mm; the Cannes diverter needs 55–85 mm. Too shallow and the cover plate stands proud of the tile. Too deep and there isn't enough thread or stem left for the plate and lever to sit properly. So before rough-in, tell your plumber three things: the wall sheet you are using, the waterproofing system, and the tile and adhesive bed your tiler plans. Those thicknesses add up to the finished wall line, and the valve is set to it.
Our factory instructions say the mixer must be installed by a licensed plumber in compliance with AS/NZS 3500, and that it should be fully tested before tiling. If you are weighing up a wall set against a basin mixer in the first place, our guide to wall-mounted vs basin mixer taps covers the trade-offs.
This guide explains what to plan and what to ask for. It is not installation instructions.
Where to Leave the Cable for an LED Mirror or Cabinet
Choose the mirror or cabinet model before the electrical rough-in, because the cable position depends on it. Every LED mirror and mirror cabinet we sell is hardwired and must be installed by a licensed electrician. Your electrician confirms the wet-area zone and the RCD for your bathroom.
- LED mirrors: most of our hardwired mirrors have a 1 m, 3-core 0.75 mm² lead, which your electrician connects to the supply. Give them the mirror's size and its planned height, so the connection ends up hidden behind the glass.
- Mirror cabinets: the supply lead leaves the top of the cabinet. On the Milan it is a fixed 1,050 mm tail. Cabinets also have an IP-rated 10 A outlet inside the top section, which is where a shaver or electric toothbrush can charge out of sight.
- Recessed cabinets: the opening is framed by your builder to the cabinet's specified dimensions before sheeting, so the cable has to be planned with the framing.
For what an electrician does and doesn't need to do, read Do LED mirrors need an electrician? If you are swapping out an existing mirror rather than building new, start with how to replace a bathroom mirror with an LED mirror.

The Shower Wall: Mixer, Rail and Head Heights
Shower heights are all measured from FFL, but each one goes to a different point: the centre of the mixer lever, the centre of the rail's wall inlet, and the spray face of the head. The spray face is where the water leaves, which is lower than the wall outlet that feeds it.

A shower mixer typically sits 900–1,100 mm above FFL. That range comes from AS 1428.1, the Australian standard for accessible design, and it's a sensible height for most homes. The spray face of an overhead shower typically sits 1,900–2,100 mm above FFL. Here is how our shower fittings convert that into a rough-in position:
Swipe the table sideways to see every column.
| Model | Product dimension | What it means for rough-in |
|---|---|---|
| Corsica Dual Shower Head | 930 mm overall, 400 mm arm, head offset 328 mm from the rail, ½″ BSP wall inlet; 370 mm from inlet to top of arm | For a spray face at 1,900–2,100 mm, the inlet lands at about 1,640–1,840 mm above FFL (derived from the drawing; check against the product before rough-in) |
| Bordeaux Wall Mounted Shower Head with Arm | 384 mm arm projection, Ø250 mm head | Spray face sits about 110 mm below the wall outlet (derived), so the outlet goes about 110 mm above your target head height |
| Lyon Ceiling Shower Arm and Head | 200 mm ceiling drop, Ø250 mm head | Spray face sits about 250 mm below the ceiling (derived), so check it against the tallest user |
| Cannes Shower Diverter and Mixer | Valve depth window 55–85 mm | Set to the finished tile face, like the Milano |
Low ceilings are where shower plans most often fail. If the outlet has to sit close to the ceiling, a long-reach arm can push the head lower than you expect, and a ceiling arm puts the head a fixed distance below the ceiling. Check both against the tallest person who will use the shower. Our shower guide walks through rail, wall-arm and ceiling-arm set-ups, with worked height examples and the matching mixers.

Towel Rails, Robe Hooks and Toilet Roll Holders
Accessories go on last, but their fixings are decided while the wall is open. Measure each one from FFL to the centre of the fitting, then ask your builder for noggings (horizontal timber or steel blocking) behind those heights before the sheet goes on, so every screw finds something solid.

Swipe the table sideways to see every column.
| Accessory | Typical height (FFL to centre) | Accessible guidance | Our product | Projection from wall |
|---|---|---|---|---|
| Towel rail | 900–1,200 mm | – | Provence 600mm Single Towel Rail (600 mm long) | 75 mm |
| Robe hook | 1,500–1,700 mm | – | Copenhagen Robe Hook | 45 mm |
| Toilet roll holder | 600–700 mm | 700 mm maximum (AS 1428.1) | Lille Toilet Roll Holder (165 mm long) | 65 mm |
Typical heights from retailer installation guides. Product dimensions from our product specifications.
Projection is worth a look as well as height. A towel rail beside a door or a vanity edge sticks 75 mm into the room, and in a tight powder room that is the difference between brushing past it and catching a hip on it. All three are in our bathroom accessories range, in the same six finishes as our tapware.


Accessible and Ageing-in-Place Ranges
AS 1428.1 is written for accessible buildings, and a private home doesn't have to follow it. It is still the most useful reference if you are planning a bathroom to grow old in, or for a family member with limited mobility, because it ties each fitting to a reach range:
- shower taps in a zone 900–1,100 mm above the floor (Figure 48);
- toilet roll holder no higher than 700 mm (Figure 41);
- door handles 900–1,100 mm above the floor (clause 13.5.3).
A fully accessible bathroom also involves grab rails, circulation space and a step-free shower, which are beyond a heights guide. Talk to an occupational therapist or an accessibility consultant before you build one.
Your Rough-In Sheet for the Plumber and Electrician
Fill this in before rough-in, print it or screenshot it, and tape a copy to the wall frame. Every height is from FFL unless the datum column says otherwise. The centreline is the centre of the basin or shower.
Swipe the table sideways to see every column.
| Outlet | Height | Offset from centreline | Depth / finished wall | Who installs | Decide by |
|---|---|---|---|---|---|
| Wall spout (Milano) | Outlet set from basin rim; plate centre = outlet + 60 mm | On the basin centreline | Valve 45–70 mm to tile face | Licensed plumber | Basin and tap chosen before plumbing rough-in |
| Wall mixer (Milano) | Usually on the spout's line | 120 mm from the spout (centres) | Valve 45–70 mm to tile face | Licensed plumber | Plumbing rough-in |
| Basin mixer (Vienna) | Hole in benchtop | Basin centreline or to one side | Ø35–38 mm hole | Licensed plumber | Before the benchtop is cut |
| Shower mixer | 900–1,100 mm to lever centre (typical) | Reachable from outside the spray | Valve to tile face (Cannes 55–85 mm) | Licensed plumber | Plumbing rough-in |
| Shower outlet (rail or arm) | Worked back from a 1,900–2,100 mm spray face | Centre of shower or rail position | To finished wall or ceiling | Licensed plumber | Plumbing rough-in |
| LED mirror or cabinet supply | Behind the mirror or above the cabinet, from its planned height | On the mirror centreline | Hardwired, no plug | Licensed electrician | Model chosen before electrical rough-in |
| Towel rail, hooks, roll holder | 900–1,200 / 1,500–1,700 / 600–700 mm | Your layout | Noggings behind | Builder (noggings) | Before sheeting |
Hot water is part of the same conversation. In Australia, the National Construction Code requires hot water to bathroom fixtures used for personal hygiene to be delivered at no more than 50 °C in new installations. Your licensed plumber sets this, usually with a tempering valve.
How to mark your heights on the wall
These are steps you can do yourself before the trades arrive. The plumbing and electrical connections themselves are licensed work.
- Find the finished floor level. Ask your builder or tiler how much the screed, bed and tile will add, and mark that height on a stud near each wall.
- Draw a level datum line. Mark a level line at a round height, such as 1,000 mm above FFL, around the room. Every other height is measured up or down from it, so the floor's fall doesn't matter.
- Mark the vanity and basin centreline. Draw a plumb line through the centre of the basin. The spout, mixer and mirror all line up on it.
- Mark the basin wall. Mark the top of the benchtop, the basin rim, the spout outlet and the outline of the mirror or cabinet, using the 100–200 mm gap above the tap.
- Mark the shower and accessories. Mark the shower mixer, the outlet and each accessory, and circle the spots that need noggings.
- Photograph and share. Photograph each wall with a tape measure in shot and send the photos with the rough-in sheet to your plumber, electrician and builder.
Common Mistakes
- Measuring from the slab instead of the finished floor: a screed and tile can add enough height to make a shower head or a mixer feel wrong.
- Roughing in a wall mixer to the sheet: the valve depth is judged at the tile face, so the tile and adhesive have to be in the plan.
- Measuring the mirror gap from the benchtop: it's measured from the top of the tap or splashback. A 305 mm tall mixer changes the answer.
- Setting a wall spout height before the basin arrives: the spout height comes from the basin rim, and basins vary.
- Leaving the mirror cable in the wrong place: the electrician needs the model, size and height, not just "somewhere above the vanity".
- Forgetting the noggings: towel rails and roll holders fixed into plasterboard alone work loose.
- Ignoring projection: a cabinet or spout that sticks out too far blocks a door or catches the tap.
Frequently Asked Questions
How high should a wall mixer be above the basin?
There's no standard height. Set the spout from the basin rim so the outlet clears the rim and lands the water near the waste, then put the mixer on the same line. On our Milano, the outlet sits 60 mm below the centre of the spout plate, so the rough-in centre is the outlet height plus 60 mm. Have the basin on site before plumbing rough-in.
What height should a shower mixer be?
A shower mixer typically sits 900–1,100 mm above the finished floor, measured to the centre of the lever. That is the accessible range in AS 1428.1, and it suits most adults and children. Place it where you can reach it from outside the spray, so you can set the temperature before you step in.
What is the standard shower head height?
There is no code height for a home shower head. A spray face typically sits 1,900–2,100 mm above the finished floor. Measure to the face of the head, not the wall outlet. A curved arm such as our Bordeaux puts the spray face about 110 mm below the outlet, so the outlet goes higher than your target.
How high should a towel rail be?
Typically 900–1,200 mm from the finished floor to the centre of the rail. Go lower for children's towels or where a vanity sits below, and higher for a long bath sheet. Ask for a nogging behind the rail before the wall is sheeted, and allow for its projection: our Provence rail sits 75 mm from the wall.
What height should a toilet roll holder be?
Typically 600–700 mm from the finished floor to the centre of the roll, within comfortable reach from the seat. AS 1428.1 sets 700 mm as the maximum for accessible toilets. Our Lille holder is 165 mm long and projects 65 mm from the wall.
How far above the tap should a mirror or cabinet be?
Leave 100–200 mm between the top of the tap or splashback and the bottom of the mirror or cabinet, and never less than 100 mm. Measure from whichever is higher. The mirror's centre then usually lands about 1500–1650 mm above the finished floor, with the top edge 100–150 mm below the cornice.
Where should the power be for an LED mirror?
Our LED mirrors and cabinets are hardwired, so there's no power point to plan, just a supply cable. Choose the model first, then give your licensed electrician its size and height so the connection ends up hidden behind it. Cabinet leads leave the top of the cabinet. Your electrician confirms the zone and RCD.
Are bathroom heights set by a building code?
Mostly no. Mirror, tap, towel rail and shower head heights in a private home are design choices. The rules that do apply are about safety and water: falls to floor wastes and hot water limits under the National Construction Code, and waterproofing to AS 3740. Accessible ranges come from AS 1428.1.
Designer's Cheat Sheet
Designer's Cheat Sheet
- ✔ Every height on the shower and accessory walls → from the finished floor, not the slab
- ✔ Spout clearance → from the basin rim: at least 50 mm under a basin mixer spout
- ✔ Milano spout rough-in → outlet height + 60 mm to the plate centre
- ✔ Wall valve depth → to the tile face: Milano 45–70 mm, Cannes 55–85 mm
- ✔ Mirror or cabinet → 100–200 mm above the tap, centre about 1500–1650 mm
- ✔ Shower → mixer 900–1,100 mm, spray face 1,900–2,100 mm
- ✔ Accessories → towel rail 900–1,200, hook 1,500–1,700, roll holder 600–700 mm
- ✔ LED mirror → choose the model before the electrician arrives
Conclusion
The heights themselves are rarely the hard part. What saves a renovation is agreeing on the datum before anyone drills: the finished floor for the shower and accessories, the rim for the spout, the top of the tap for the mirror, and the tile face for the valve. Write them on one sheet, give the same sheet to every trade, and you remove most of the reasons a cover plate, shower head or mirror ends up in the wrong place.
If you are about to book trades, read the sequence next: what to choose before each trade arrives.
Where To Next?
- Planning the job: Bathroom Renovation Order of Trades and 21 Costly Renovation Mistakes
- Mirror detail: How High Should You Hang a Bathroom Mirror?
- Tapware detail: Bathroom Tapware Buying Guide and Choosing a Shower
- Shop by wall: Bathroom Mixers & Spouts, Showers & Shower Sets, Bathroom Accessories and Mirror Cabinets
Need help? Ask us with a photo.
Send a photo of your basin, wall or plans and we will tell you what fits or call 1300 221 495.

