



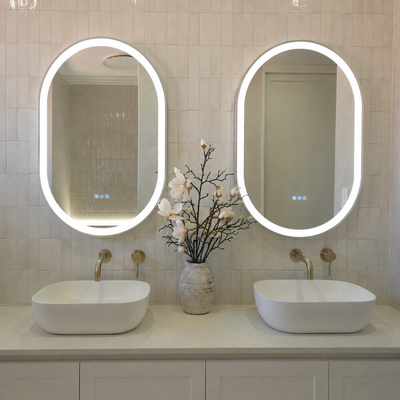
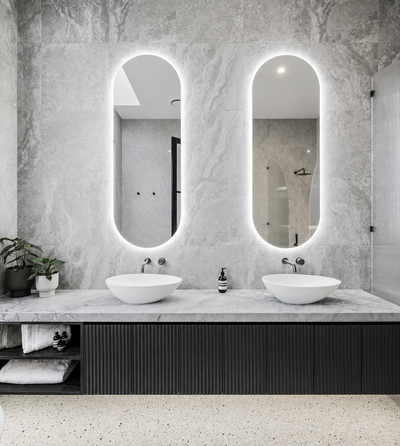



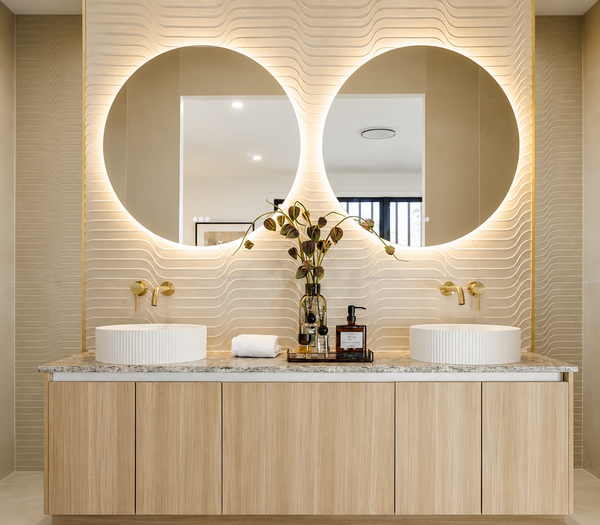
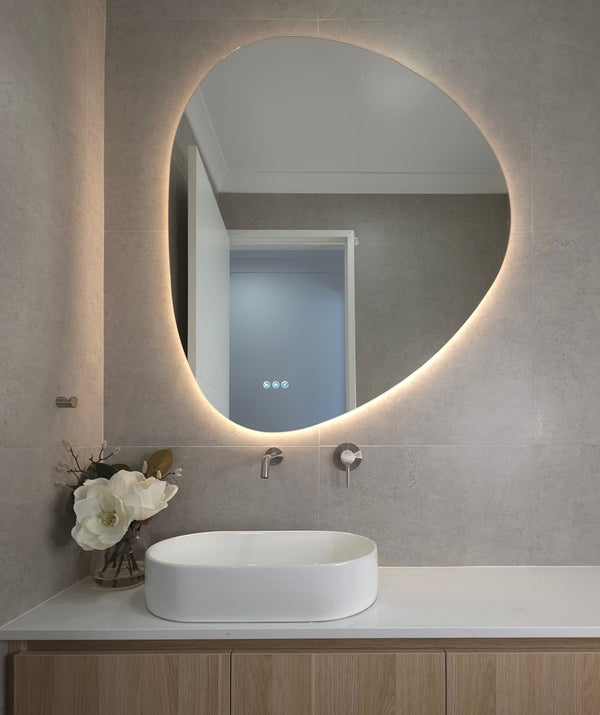
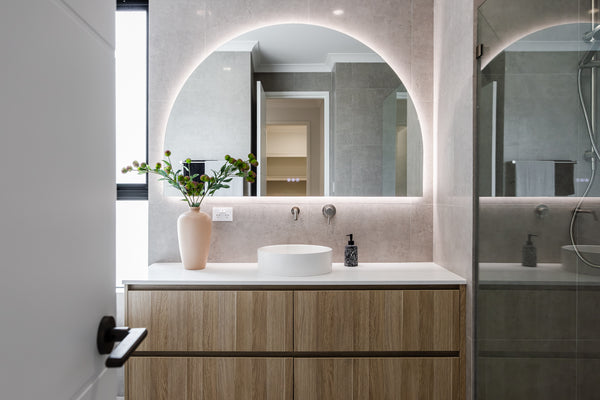
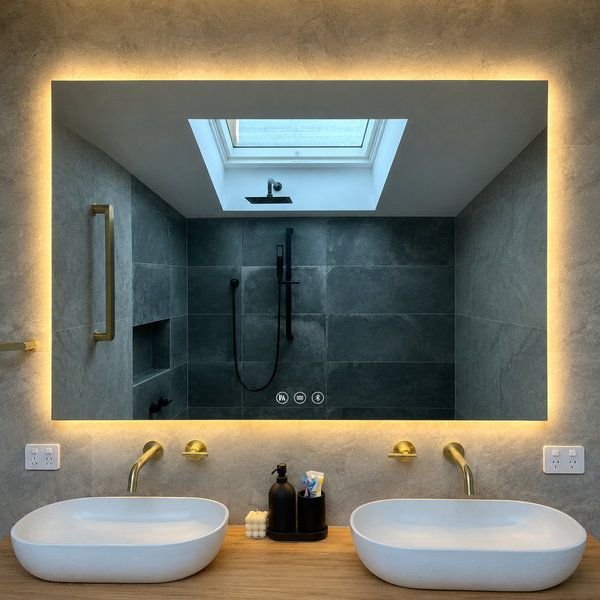
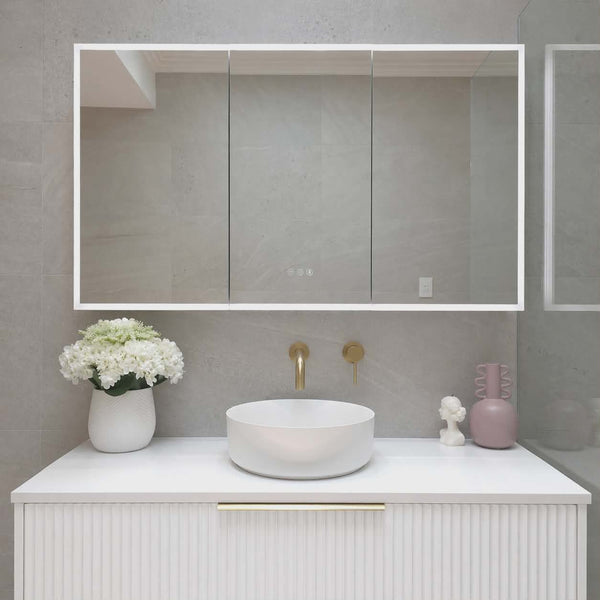

A bathroom renovation runs in a fixed order, and most of the expensive mistakes happen when a decision arrives later than the trade that needed it. The plumber can't rough in a wall mixer that hasn't been bought. The electrician can't leave a cable in the right place for a mirror nobody has chosen. And once the wall is sheeted and tiled, changing either means cutting tiles.
This guide walks through the bathroom renovation order of trades, stage by stage, and names the decision that has to be made before each trade arrives. The measurements behind those decisions, from mixer heights to the gap above the tap, are in our companion guide, Bathroom Heights and Rough-In Measurements.
Updated 13 October 2026. This guide explains what to plan and what to ask for. It is not installation instructions, and licensed work must be done by licensed trades.
Why Trust InVogue Mirrors & Bathware? InVogue is an Australian retailer trusted in over 20,000 homes, specialising in LED bathroom mirrors and mirror cabinets. The recommendations in this guide come from bathroom design principles — proportion, balance and light — rather than passing trends.
Quick Answer
The usual bathroom renovation order is plan, demolish, frame, plumbing rough-in, electrical rough-in, sheeting, waterproofing, tiling, fit-off and final check. The decisions that can't wait:
- Plan: Choose every fixture, then get quotes.
- Demolish: Strip the room back to the frame and slab.
- Frame: Move studs, add noggings and frame any cabinet recess.
- Plumbing rough-in: Mixer and spout bodies go in, set to your finished wall.
- Electrical rough-in: Cables for the mirror or cabinet, lights and fan.
- Sheeting: Wet-area sheet goes on over the frame.
- Waterproofing: Membrane, then inspection where required.
- Tiling: Tiles set out to the mirror centreline and tap plates.
- Fit-off: Trims, vanity, toilet, mirror or cabinet, accessories.
- Final check: Test everything, collect the paperwork.
The Bathroom Renovation Order at a Glance
Read the timeline left to right. The brass markers are the gates: if the decision above a marker hasn't been made, that trade either waits or guesses.

On timing, one Australian renovation cost guide, What's The Damage (updated October 2026), puts a typical full bathroom at three to five weeks on site, but two to three months from decision to first shower once design, selections and ordering are included. Most of that extra time sits before demolition, which is exactly where the decisions below belong.
Swipe the table sideways to see every column.
| Stage | Trade | What must be decided | What must be on site | Our products affected |
|---|---|---|---|---|
| 1 Plan | You, designer, builder | Every fixture, finish and size; layout | Drawings and product spec sheets | All of them |
| 2 Demolish | Builder or demolition crew | What stays (window, door, ceiling) | Skip bin, protection for the rest of the house | – |
| 3 Frame | Builder or carpenter | Cabinet recess, niches, nogging positions | Cabinet model and its specified recess dimensions | Recessed mirror cabinets, towel rails, hooks |
| 4 Plumbing rough-in | Licensed plumber | Mixer type, spout height from the basin, shower set, valve depths | Mixer and spout bodies, the basin (or its drawing) | Milano, Cannes, Corsica, Bordeaux, Lyon |
| 5 Electrical rough-in | Licensed electrician | Mirror or cabinet model, size and height | Model chosen (spec sheet in hand) | LED mirrors and mirror cabinets |
| 6 Sheeting | Builder or plasterer | Wet-area sheet type and thickness | Sheets | – |
| 7 Waterproofing | Waterproofer | Membrane system | Membrane | – |
| 8 Tiling | Tiler | Tile set-out around the mirror and plates | Tiles, adhesive, mirror and tap positions marked | Tap plates, mirror centreline |
| 9 Fit-off | Plumber, electrician, builder | Nothing new, if the gates were met | Trims, vanity, basin, mirror or cabinet, accessories | Every product |
| 10 Final check | Each trade | – | Compliance paperwork | Warranty records |
Stage by Stage: What to Choose Before Each Trade Arrives
1. Plan: choose everything before you ask for quotes
Choose every fixture before you get quotes, not after. A quote based on "a wall mixer, TBC" is a guess, and the price, the rough-in and the lead time all change once the actual product is known. At this stage you want: the vanity and basin, the tapware for every outlet, the shower set (a rail set such as the Corsica, or a mixer with a separate head), the mirror or mirror cabinet, the tiles, and the accessories. Get the spec sheet for each one. If you are working to a layout, our bathroom layout guide covers spacing and flow.
2. Demolish
Demolition is quick, and it's the last time the whole room is open. In an older home, have wall and floor linings tested for asbestos before anything is broken out. Once the walls are bare, photograph every wall with a tape measure in shot: you will want those photos later.
3. Frame: recess and noggings before the sheet goes on
This is the gate most people miss. If you want a recessed mirror cabinet, your builder frames the opening to the cabinet's specified dimensions now, before sheeting, so the cabinet model has to be chosen at this point. The same goes for noggings (horizontal blocking) behind towel rails, robe hooks, the toilet roll holder and any heavy mirror. Our guide to recessed vs surface-mounted mirror cabinets explains when recessing is worth it.
4. Plumbing rough-in: mixer bodies on site
The mixer and spout bodies need to be on site when the licensed plumber arrives, because they go into the wall now and the trims go on weeks later. The plumber also needs to know three things: where each outlet sits (measured from the finished floor or the basin rim), what basin you are using, and how thick the finished wall will be. Our Milano valves work within 45–70 mm of the finished tile face and the Cannes diverter within 55–85 mm, so the wall sheet, membrane and tile thicknesses all matter. The full set of heights is in our rough-in measurements guide.
On renovation forums the same story comes up again and again: the fixtures arrive after the plumber, the plumber roughs in to a generic body, and the trim that turns up later doesn't match. Our factory instructions also say to fully test the mixer before tiling, which only works if the body is in the wall before the tiler is booked.

5. Electrical rough-in: mirror or cabinet chosen
Every LED mirror and mirror cabinet we sell is hardwired, so it must be installed by a licensed electrician, and the cable has to be left in the right place now. Give the electrician the model, its size and its planned height. Most of our hardwired mirrors have a 1 m lead from the back; our cabinets, such as the Milan, have a lead that leaves the top of the cabinet. Your electrician confirms the wet-area zone and the RCD. If you are deciding between a mirror and a cabinet, our decision guide will help, and do LED mirrors need an electrician? explains the electrical side.

6. Sheeting
Wet-area sheeting closes the frame. Before it goes on, walk the room with your rough-in sheet and check every outlet, cable and nogging against it. Tell your tiler the sheet thickness, because it feeds into the finished wall line your mixer bodies were set to.
7. Waterproofing and inspection
Under the National Construction Code, wet areas are waterproofed to AS 3740, and a shower floor with a floor waste must fall to the waste at between 1:80 and 1:50. Some states require a licensed waterproofer, an inspection or a certificate before tiling, so ask your builder what applies where you live. Let the membrane cure for the time its manufacturer specifies before the tiler starts.
8. Tiling: set out to the mirror and the tap plates
Before the first tile goes on, mark the basin centreline, the mirror or cabinet outline and the tap plate centres on the wall, and ask the tiler to set out from them. A grout line that runs through the middle of a mixer plate, or a cut tile right where the mirror's bottom edge sits, is what makes an expensive bathroom look slightly off.

9. Fit-off
If the gates were met, fit-off is the easy part. The licensed plumber fits the trims, vanity, basin and toilet. The licensed electrician connects the LED mirror or cabinet as it goes on the wall. Accessories go on last, into the noggings you asked for at framing.
10. Final check
Run every tap hot and cold, fill and drain the basin, run the shower and the fan, and test every mirror and cabinet function. Then collect the paperwork: compliance certificates from the plumber and electrician (the forms vary by state) and any waterproofing certificate. Keep them with your receipts for warranty claims.
What to Have on Site, and When
Here is the same plan turned into a delivery list. "On site" means in the house and checked, not in a box in the garage that nobody has opened.
- Before framing: the mirror cabinet's spec sheet (if recessing), and your accessory positions.
- Before plumbing rough-in: every in-wall mixer and diverter body, the shower set, and the basin or its drawing.
- Before electrical rough-in: the LED mirror or cabinet model and size chosen. The product itself can arrive later.
- Before tiling: the tiles, plus the mirror outline and tap plate centres marked on the wall.
- Before fit-off: every trim, the vanity and basin, the toilet, the mirror or cabinet, and the accessories.

Lead Times and Ordering
Order early, and open the boxes when they arrive. The table shows what you can rely on from our side.
Swipe the table sideways to see every column.
| Product | Availability | Note |
|---|---|---|
| LED mirrors and mirror cabinets | Shown on each product page | Check the size you need is in stock before your electrical rough-in |
| The Amalfi, 1500 mm | Custom order | Lead time about 2 months, as shown on the product page |
| Tapware and accessories | Shown on each product page | The in-wall bodies are needed at plumbing rough-in, not fit-off |
| Delivery | Free Australia-wide delivery | Allow for delivery time before your rough-in date |
| Returns | 30 days from the date of delivery to initiate a return | Items must be unused and in their original packaging, with films and labels intact |
Designer Insight: the returns window starts on delivery, not on fit-off. If you order everything two months early, open and check each box the week it arrives: the right finish, the right size and nothing damaged. Leave the protective films on until the trade fits it.
Who Does What: Licensed Work and Owner Tasks
Most of a renovation is licensed work. What you can do yourself is the planning, choosing, ordering and checking, which is also where most delays start.
Swipe the table sideways to see every column.
| Task | Who does it in Australia | Source |
|---|---|---|
| Water supply, drainage, mixer bodies and trims | A licensed plumber, using WaterMark-certified products | ABCB WaterMark |
| Electrical wiring, LED mirror and cabinet connection | A licensed electrician, to AS/NZS 3000 | Your state electrical safety regulator |
| Waterproofing | Done to AS 3740; some states require a licensed waterproofer, an inspection or a certificate | NCC Housing Provisions Part 10.2 |
| Choosing, ordering, checking deliveries, marking heights | You | – |
If you want to do something useful on site yourself, mark the heights. Our rough-in measurements guide includes a step-by-step for marking a datum line and every outlet, which gives your licensed plumber and licensed electrician a clear brief.
Common Mistakes
- Booking the plumber before the tapware is bought: the in-wall bodies have to be in the wall at rough-in, and a generic body may not suit the trim you choose later.
- Choosing the mirror after the electrician has been: the cable ends up in the wrong place and the wall gets opened again.
- Deciding to recess a cabinet after sheeting: the opening is framed by the builder, so it belongs at the framing stage.
- Forgetting the finished wall thickness: a mixer set to the stud or sheet can leave the cover plate unable to sit flush once the tile goes on.
- Tiling without a set-out: grout lines through tap plates and cut tiles under the mirror are hard to unsee.
- Leaving boxes unopened until fit-off: a wrong finish or a damaged part found on fit-off day stops the job.
- Skipping the paperwork: compliance certificates matter for insurance, resale and warranty claims.
Frequently Asked Questions
What is the right order for a bathroom renovation?
Plan and choose every fixture, demolish, frame, plumbing rough-in, electrical rough-in, sheeting, waterproofing, tiling, fit-off and a final check. Plumbing and electrical rough-in often overlap, but both must be finished, and the fixtures chosen, before the walls are sheeted. Waterproofing comes after sheeting and before tiling.
When should I buy tapware for a renovation?
Before the plumbing rough-in. Wall mixers, wall spouts and shower diverters have bodies that go into the wall at rough-in, weeks before the trims are fitted, so your licensed plumber needs them on site. Basin mixers can arrive later, but choose them early so the benchtop hole and basin clearance are planned.
Does the vanity go in before or after tiling?
Usually after. The plumber roughs in the waste and water for the vanity before sheeting, the walls and floor are tiled, and the vanity is fitted at fit-off. Agree the vanity height and basin position before rough-in, because the tap and mirror heights are measured from them.
Do I need to choose my LED mirror before the electrician comes?
Yes. Our LED mirrors and cabinets are hardwired, so the licensed electrician leaves a supply cable in the wall at rough-in. Its position depends on the model, size and height you choose. Cabinets have a lead that leaves the top, and recessed cabinets also need the opening framed before sheeting.
How long does a bathroom renovation take?
A typical full bathroom takes three to five weeks on site, according to What's The Damage (updated October 2026), but two to three months from decision to first shower once design, selections and ordering are included. Layout changes and custom joinery take longer.
Does sheeting or waterproofing come first?
Sheeting first. The wet-area sheet goes over the frame once the rough-ins are checked, then the membrane goes over the sheet, and the tiles go over the membrane. Waterproofing is done to AS 3740 under the National Construction Code, and some states require an inspection before tiling.
Designer's Cheat Sheet
Designer's Cheat Sheet
- ✔ Getting quotes? → choose every fixture first
- ✔ Recessed cabinet? → framed by the builder before sheeting
- ✔ Plumber booked? → mixer and spout bodies on site, basin chosen
- ✔ Electrician booked? → mirror or cabinet model, size and height chosen
- ✔ Tiler booked? → mirror outline and tap plates marked for set-out
- ✔ Delivery arrived? → open and check it the same week
- ✔ Job finished? → collect every compliance certificate
Conclusion
A renovation rarely goes wrong because a trade did poor work. It goes wrong because a decision was still open when the wall was. Make the four gate decisions on time (the cabinet recess at framing, the mixer bodies at plumbing rough-in, the mirror model at electrical rough-in and the set-out before tiling) and the rest of the job mostly follows the plan.
Next, put numbers on those decisions: every bathroom height and rough-in measurement, with its datum.
Where To Next?
- The measurements: Bathroom Heights and Rough-In Measurements and How High Should You Hang a Bathroom Mirror?
- Tapware and showers: Bathroom Tapware Buying Guide, Wall-Mounted vs Basin Mixer Taps, Choosing a Shower and WELS and WaterMark Explained
- Avoiding the classics: 21 Costly Renovation Mistakes
- Shop the range: Tapware, Mirror Cabinets and Smart Mirrors
Need help? Ask us with a photo.
Send a photo of your basin, wall or plans and we will tell you what fits or call 1300 221 495.

